Steve (Builder.io) thumbnail

📝 Steve (Builder.io) Blog

Unlocking the Power of Claude: Custom Hooks, Slash Commands, and Visual UI Integration

If you’re diving into enhancing your development workflow with AI, Claude offers some exciting features that can supercharge your productivity. From custom hooks and slash commands to a seamless visual UI experience, Claude is designed to adapt to your coding style while giving you powerful tools to streamline your projects. Here’s a breakdown of some of the coolest capabilities and how you can leverage them.

Custom Hooks and Slash Commands: Automate Your Workflow

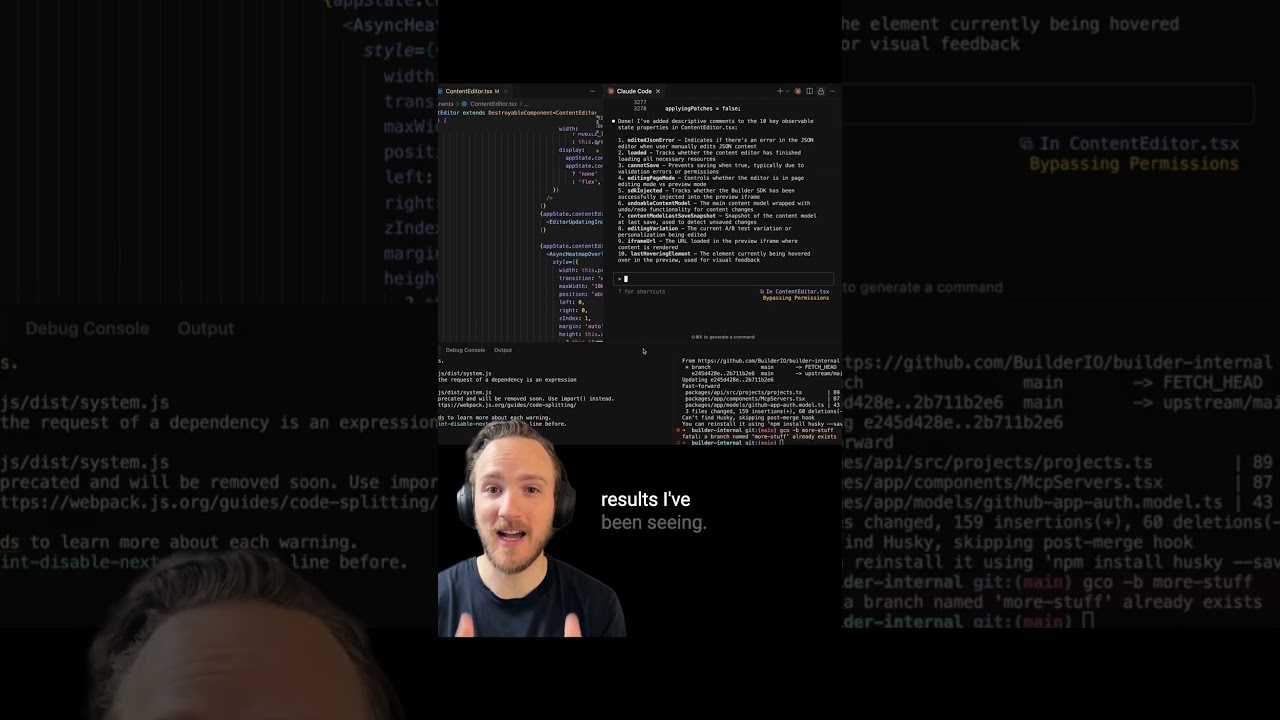
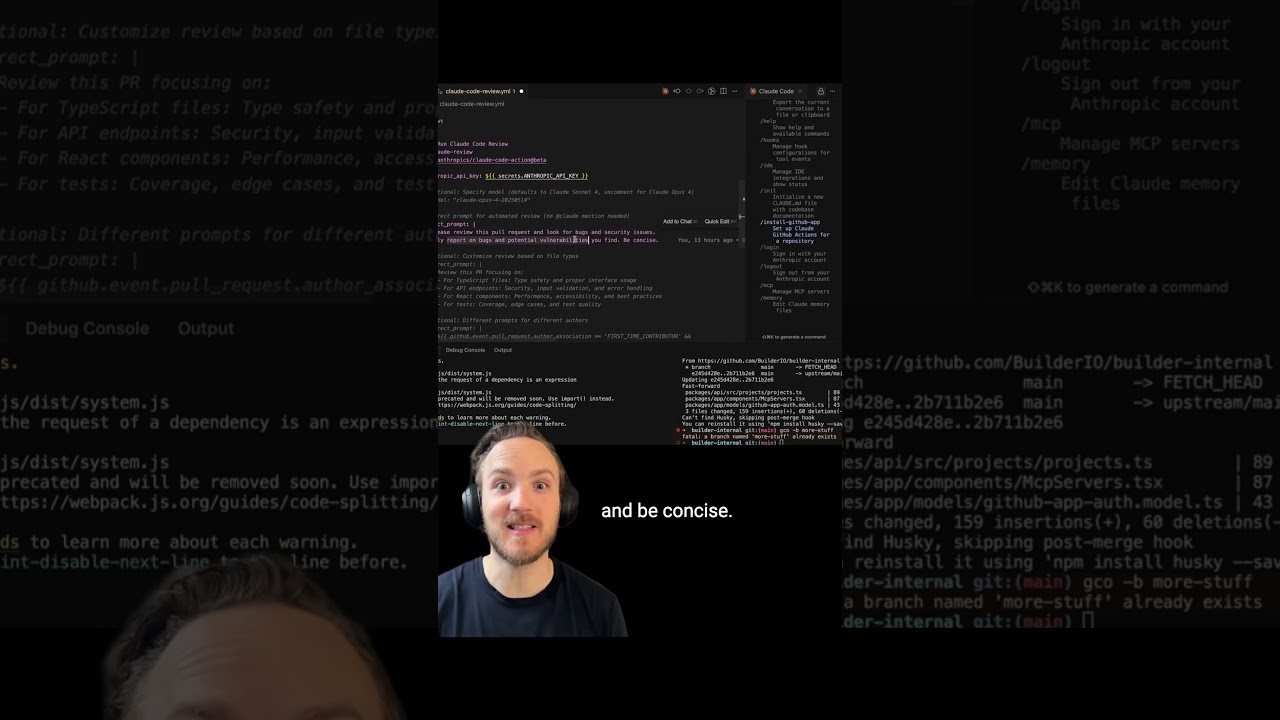
One of the standout features Claude offers is the ability to add custom hooks and custom slash commands, all of which Claude can help you build.

  • Custom Hooks: You can define specific scripts or commands to run automatically before or after code edits. For example, you might run Prettier on a file before accepting changes or perform a type check afterward. Claude helps generate a settings file where these hooks are clearly defined and easy to edit.

  • Slash Commands: Adding slash commands is incredibly intuitive. By creating a folder named acloud/commands and adding Markdown files with natural language instructions, Claude allows you to trigger complex actions just by typing a slash command with arguments. This approach makes it simple to extend functionality without writing complicated scripts.

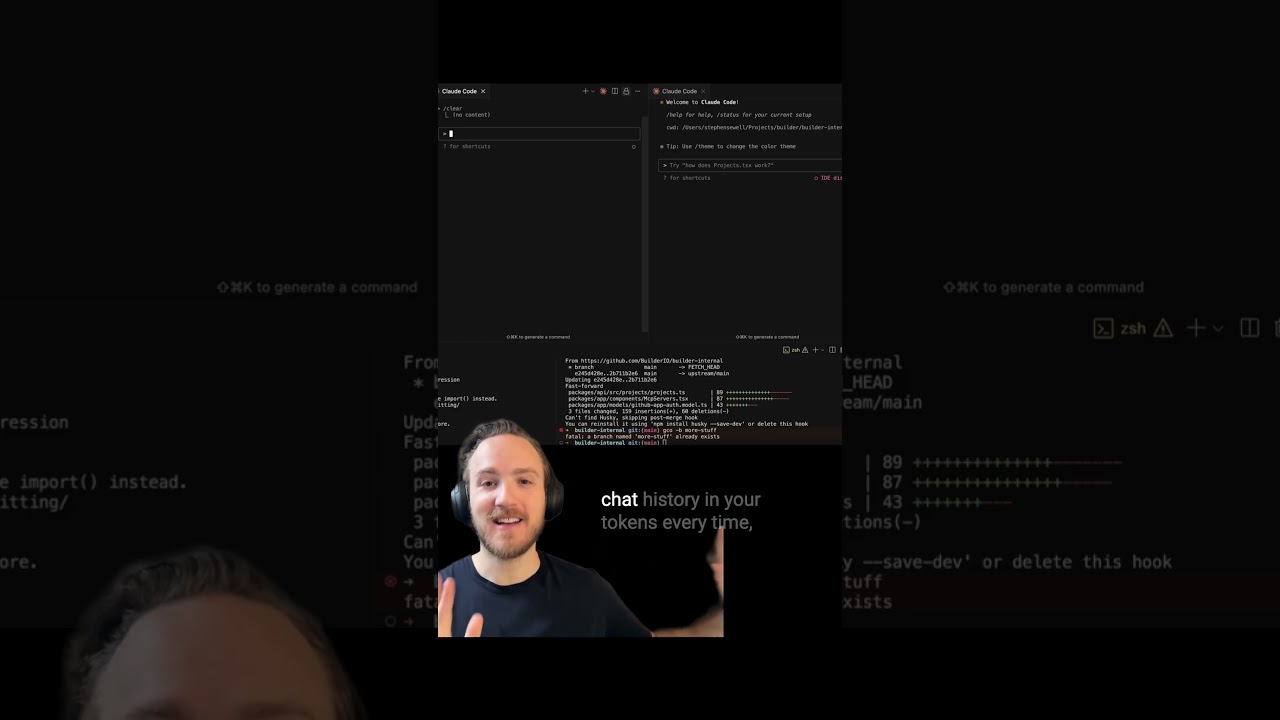
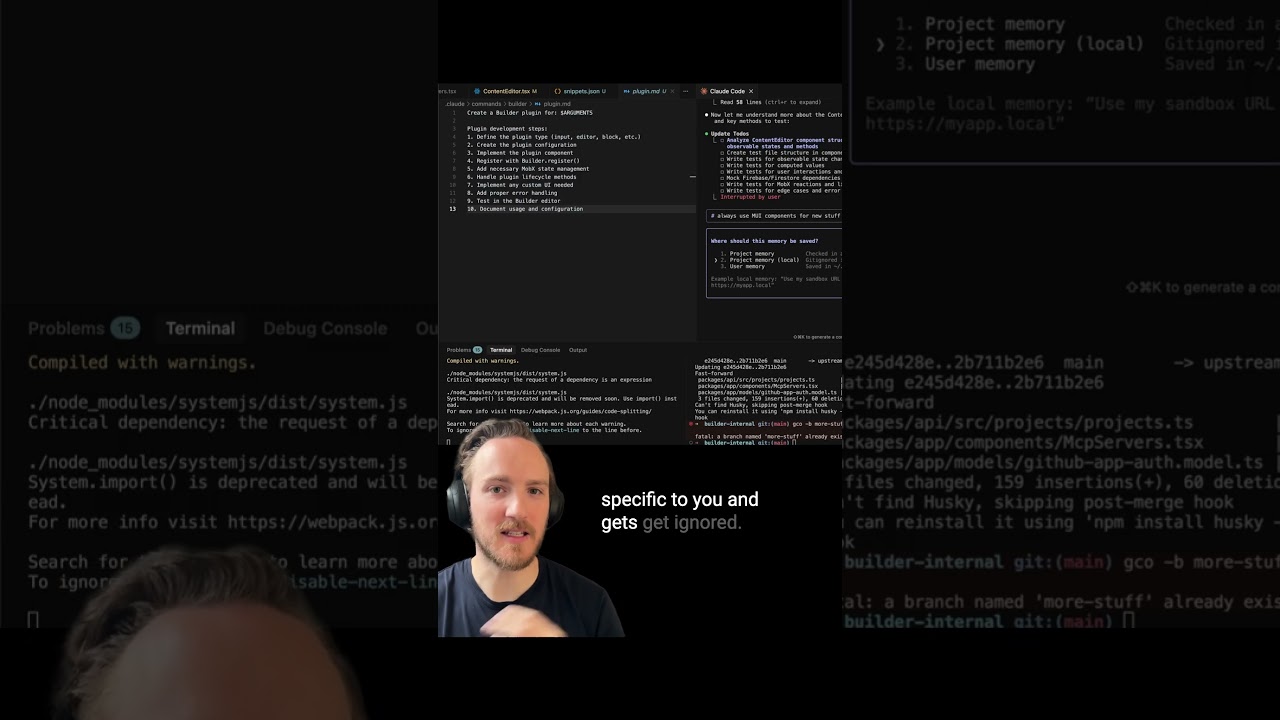
Memory Enhancements: Save Preferences Instantly

Claude also supports adding memory snippets quickly using the pound sign (#). For instance, you can instruct it to “always use MUI components for new stuff,” and Claude will automatically save this preference to the most relevant file.

You have flexibility here:

  • Global User Memory: Preferences that apply to all projects.
  • Local Project Memory: Preferences specific to a particular project and ignored elsewhere.

Just add these memory notes to any designated memory files, and Claude handles the rest, keeping your coding environment personalized and consistent.

Bridging the Gap: Visual UI Meets Cloud Code

While Claude’s terminal-style interface is powerful, sometimes you just want a more traditional UI—click, highlight, and edit without wrestling with escape characters or command-line quirks.

Enter the Builder.io VS Code Cursor Windsurf extension. This tool offers a visual UI directly from your IDE sidebar, giving you:

  • A familiar chat-like interface paired with a live preview.
  • The ability to switch to a design mode with a Figma-style interface to tweak styles and layout visually.
  • The best of both worlds by combining visual design tools with the underlying cloud code mechanics.

This tool was carefully reverse-engineered to mirror Claude’s internal system, ensuring consistency between your visual edits and the codebase.

Collaborative Prototyping and Code Review

You’re not limited to your local environment. This visual editing experience also works seamlessly in a browser, allowing team members to rapidly create prototypes aligned with your design systems.

When ready, you can generate a pull request directly from the UI, complete with title, description, and a review of changed files to ensure everything aligns with your design system.

Even better, you can leave comments within the PR like, “Hey, build a bot. Move this to its own component in a new file.” Claude responds to these comments by pushing new commits that address your feedback—automating code refinement through natural language collaboration.

Conclusion

Claude’s ecosystem is evolving into an incredibly flexible tool that blends AI-powered coding with intuitive customization and visual interfaces. Whether you want to automate workflows with hooks and slash commands, save personalized memory snippets, or toggle between terminal and visual UI for design and prototyping, Claude has you covered.

By integrating tools like the Builder.io extension and embracing collaborative workflows via pull requests, Claude is helping developers and teams work smarter, faster, and more creatively.

If you’re ready to take your development process to the next level, exploring Claude’s custom hooks, commands, and UI tools is a great place to start. Happy coding!

Why I’m Betting on Anthropic’s Cloud Code for AI-Powered Coding Assistance

In the rapidly evolving world of AI-powered coding tools, choosing the right platform can significantly impact your productivity and costs. Recently, I’ve been exploring two prominent players: Cursor and Anthropic’s Cloud Code. After hands-on experience, I’m confident that Anthropic’s Cloud Code offers unparalleled advantages, especially for developers seeking smart, efficient, and cost-effective AI assistance.

The Core Difference: General-Purpose vs. Specialized AI Models

Cursor built a product designed as a general-purpose agent that supports a variety of AI models. To achieve this, Cursor manages multiple layers of complexity, including training custom models and integrating diverse systems. However, Cursor doesn’t control the core AI models themselves, which adds complexity and additional costs to their offering.

Anthropic, on the other hand, takes a different approach. They focus exclusively on their own AI models, which are renowned as some of the best coding models available. By developing Cloud Code to work seamlessly with their proprietary models, Anthropic ensures deep integration, superior performance, and continuous improvement of both the models and the product.

Why This Matters: Performance and Pricing

Because Anthropic controls both the AI models and the product, they can optimize everything end-to-end. When Cloud Code encounters challenges, the team improves the models directly, leading to faster iteration cycles and higher quality outcomes.

This integration also allows Anthropic to offer the best value. Since they only have to cover their own costs without managing third-party models or building extra layers like Cursor, Cloud Code can be priced more competitively. This means you get maximum access to powerful AI models like Anthropic’s Opus at a lower cost compared to Cursor.

The Value Proposition: Max Mode Pricing Is a Steal

Speaking of pricing, I currently pay for Cloud Code’s Max Mode, and it’s an absolute bargain. If you think about it, having a shockingly intelligent coding assistant available 24/7 for $100 a month beats hiring even the most affordable human engineer by an order of magnitude. The productivity gains and time saved alone justify the cost many times over.

If you’re struggling to justify this expense, consider the hourly rates of human developers worldwide and the potential boost in output and quality that Cloud Code delivers.

A Game-Changing Feature: Queuing for Seamless Workflow

One feature I absolutely swear by in Cloud Code is its queuing system. Previously, with Cursor, I had to manually input each prompt, wait for the response, then enter the next one—often leaving the agent idle while I handled other tasks. This was inefficient and disrupted my workflow.

Cloud Code changes that by allowing you to queue multiple prompts in advance. For example, if you’re working on adding comments to your JSX code and suddenly think of another improvement, you simply add it to the queue. The system intelligently determines when to process each message—waiting for your input if needed and running tasks automatically when appropriate.

This means you can set up a backlog of requests and go about your day, returning later to find a significant amount of work already completed. Just remember to check in periodically, as some tasks might require your feedback.

Final Thoughts

Anthropic’s Cloud Code represents a smart, integrated approach to AI coding assistance with clear advantages over more fragmented solutions like Cursor. By owning their models and focusing on specialized optimization, they deliver superior performance at a better price point. Features like intelligent queuing further elevate the user experience, making Cloud Code not just a tool but a reliable coding partner.

Given the incredible results I’ve seen so far, I’m confidently investing my time and money in Anthropic’s Cloud Code. If you’re a developer looking to amplify your coding efficiency without breaking the bank, it’s definitely worth checking out.


Have you tried AI coding assistants? What’s your experience been like? Share your thoughts in the comments below!

Boosting Your Development Workflow with Claude and Cloud Code: A Deep Dive into AI-Powered Code Review and Terminal Efficiency

In the rapidly evolving world of software development, AI tools are becoming indispensable allies, especially when it comes to code review and managing large codebases. Today, we’ll explore some powerful features of Claude and Cloud Code that can significantly enhance your development workflow, based on practical insights from real-world usage.

Automate Your Code Reviews with Claude’s GitHub App

One standout feature of Claude is its GitHub app integration, which automates the code review process for pull requests (PRs). When you submit a PR, Claude automatically performs a code review, identifying bugs and potential security vulnerabilities. This is particularly valuable as the volume of PRs increases with more AI-assisted coding.

Why is Claude’s review so effective?
Unlike human reviewers who often focus on style nitpicks like variable naming, Claude zeroes in on actual bugs and security issues, sometimes catching problems that slip past human eyes. This focused approach helps maintain code quality without overwhelming you with verbose feedback.

How to optimize Claude’s reviews?
Claude adds a claude_code_review.yaml file with a default prompt. To avoid overly verbose comments, customize this prompt to instruct Claude to:

  • Look only for bugs and security vulnerabilities
  • Be concise in its feedback

With this tweak, Claude becomes a streamlined, powerful addition to your CI/CD pipeline.

Leveraging Claude’s Slash Commands for Enhanced Terminal Interactions

Beyond code reviews, Claude supports numerous slash commands to boost productivity:

  • Pull Comments and Address Feedback: Automatically pull comments from GitHub PRs and generate responses or fixes.
  • Terminal Setup: By default, pressing Shift + Enter doesn’t add new lines in the terminal interface. But with a simple command to Claude, you can configure it so Shift + Enter functions as expected, improving text editing flow.

Tips and Tricks for Cloud Code Terminal Usage

Cloud Code’s terminal interface might feel unconventional at first, but mastering a few quirks can greatly improve your efficiency:

  • Drag and Drop Files: You can drag files into the terminal. In editors like Cursor or VS Code, this opens the file in a new tab. However, holding Shift while dragging the file inserts a reference to it directly in your current workspace.
  • Pasting Images: Standard paste commands (e.g., Command + V on Mac) don’t work for pasting images in Cloud Code. Instead, use Control + V to paste images from your clipboard. This subtle difference took some users a while to discover but is a game-changer once known.
  • Stopping Cloud Processes: Unlike typical terminals where pressing Ctrl + C stops processes, in Cloud Code pressing Escape is the correct way to stop ongoing tasks. Pressing Escape twice brings up a list of previous messages, allowing you to jump back to any past interaction.
  • Vim Mode: For Vim enthusiasts, Cloud Code offers a Vim mode to navigate and edit code efficiently. While not for everyone, it’s a robust option for those accustomed to Vim’s keyboard-driven workflow.

Handling Massive Codebases with Cloud Code

Managing and updating large code files is notoriously challenging for many AI agents. For example, in one React project, a single component file spans a staggering 18,000 lines of code. Most AI tools struggle with such scale, often having to rewrite entire files or failing to resolve incremental changes accurately.

Cloud Code excels where others falter:
- It seamlessly updates extremely large files without hiccups.
- It handles complex tasks across massive codebases efficiently.

This capability makes Cloud Code an excellent choice for projects where legacy code or huge files are the norm.


Final Thoughts

Integrating AI into your development workflow doesn’t have to be overwhelming or error-prone. Tools like Claude and Cloud Code bring automation, precision, and scalability to code reviews and terminal interactions, making them invaluable for modern developers.

By customizing Claude’s review prompts, mastering Cloud Code’s terminal shortcuts, and leveraging their strengths in handling large codebases, you can save time, reduce bugs, and streamline your coding experience.

Ready to take your development process to the next level? Start exploring Claude’s GitHub app and Cloud Code’s terminal features today!

Why I Switched to Claude Code for Coding Assistance — And How I Use It

Over the past several weeks, I made a significant change in my coding workflow: I switched from using Cursor’s agents to Claude Code. After trying both, I’m confident this is a switch I’m not looking back on. Here’s an overview of how I use Claude Code, along with my best tips to get the most out of it.

Getting Started: Installing the Extension

The first step is installing the Claude Code extension. This extension integrates seamlessly with VS Code, Cursor, and even other forks like Windsurf. While it doesn’t offer a ton of flashy features, it excels at one thing — making it incredibly easy to launch Claude Code right inside your IDE.

I still keep Cursor as my default occasionally because I like using its command K and tab completions for quick tasks. But the only time I ever touch the Cursor agent sidebar now is if Claude is down, which is rare.

Multi-Pane Workflow & Context Awareness

One feature I love about the extension is the ability to open multiple Claude Code panes simultaneously. This lets me run parallel conversations or tasks as long as they’re working in different parts of the codebase or different files. Plus, if I have a file open in the editor, Claude Code automatically pulls it into the context — saving me from manually sharing code snippets or files.

Terminal UI & Slash Commands

Claude Code uses a terminal-like user interface, which I was hesitant about at first. But it turns out they’ve done a great job here. You can easily tag files and choose exactly what to include in the conversation, which is super helpful.

Slash commands are another killer feature. I use the /model command frequently to switch between different AI models. Usually, I work with the opus model, which feels a bit better in quality, but if it’s having issues, I switch to sonnet. For most users, sticking with the default setup is best — Claude will use opus until you hit 50% of your usage limits, then switch to sonnet automatically, which is more cost-efficient.

Pro Tips: Best Practices for Smooth Use

  • Clear chat history often: I hit the /clear command every time I start a new task. This keeps the token count low and avoids unnecessary slowdowns. Claude tries to compact chat history, which means making extra calls to summarize past conversations — that takes time and tokens. Clearing history regularly keeps things snappy.

  • Use the up-arrow to revisit past chats: You can scroll through previous conversations, even from past sessions. This is handy if you want to revisit or continue work without losing context.

  • Handling permission prompts: One frustrating thing is that Claude Code often asks for permission to edit files or run commands, even when you want it to just get on with it. It can interrupt your workflow by repeatedly prompting you to approve editing or running linters.

My Workaround: Skip Permission Mode

To avoid constant permission prompts, I run Claude Code with a special flag:

bash claude dangerously skip permissions

This mode skips those annoying permission requests and lets the AI edit files or run commands without asking each time. It sounds risky, but it’s similar to Cursor’s “yolo mode.” While there’s a theoretical risk that a rogue agent could run destructive commands, I’ve used this mode for weeks with zero issues.

If you’re comfortable with a small risk for a much smoother experience, this is the way to go.

Final Thoughts

Claude Code has become my go-to AI coding assistant. The easy integration with VS Code, the powerful terminal UI with slash commands, and the ability to work with multiple files in parallel make it a fantastic tool. My biggest recommendation is to use the skip permissions flag if you want to avoid constant interruptions, but otherwise just experiment and see what works best for you.

If you’re coming from Cursor or other agents, give Claude Code a try — you might find it revolutionizes your coding workflow like it did mine!


Happy coding!

11 Essential Tips for Using AI to Build and Edit User Interfaces Effectively

The rise of AI-powered tools like Fusion, Cursor, and Claude Code has transformed how developers and designers create user interfaces (UIs). However, success varies widely depending on how you interact with these tools. Whether you are vibe coding or working on complex projects, mastering a few key strategies can significantly improve your results. Here are 11 actionable tips to help you leverage AI for UI generation, prototyping, and editing more effectively.


1. Remember: AI Does Not See Your Screen Like You Do

AI models don’t have eyes—they don’t inherently know what the UI looks like when rendered. For example, AI might generate code for a dashboard but miss subtle alignment issues or padding inconsistencies. To overcome this, take a screenshot of your UI and provide it as input along with instructions like “Fix vertical alignment of avatars.” This allows AI to analyze the pixels and make precise adjustments that pure code prompts might miss.


2. Provide the Right Context for the AI

Give the AI a clear overview of your project structure, key components, and coding guidelines upfront. In tools like Fusion and Cursor, you can add custom instructions or files specifying your design system preferences, coding styles, and component usage. This ensures the AI sticks to your standards, prefers design system components over generic HTML, and adapts to legacy or newer code styles as needed.


3. Add Additional Repositories as Context

If your project depends on multiple repositories—for example, a frontend repo plus a backend API repo—add these as folders in your workspace. This lets the AI access all relevant code, documentation, and specs (like Swagger files) to generate cohesive, fully functional features that integrate seamlessly across your stack.


4. Pass Errors and Logs to AI for Faster Bug Fixing

When you encounter runtime errors or UI bugs, copy error messages, console logs, or network logs and submit them to the AI with a request to fix the issues. Tools like Fusion can capture this context automatically. This feedback loop helps AI understand what’s broken and how to resolve it, speeding up debugging substantially.


5. Run Multiple AI Agents in Parallel, But Keep Them Focused

You can have multiple AI sessions or “agents” working simultaneously—each tackling different parts of your codebase or different features. For example, open multiple tabs in Cursor or Fusion, each with a dedicated prompt. Avoid having two agents fix the same bug simultaneously, but parallelize work to brainstorm UI variants or explore alternative implementations efficiently.


6. Connect Your Design Tools for Better Fidelity

Instead of just pasting screenshots, integrate your design tools directly. Use Figma’s MCP (Model Component Plugin) or plugins like Build with.io to import Figma frames and design tokens into your coding environment. This enables bi-directional sync between code and design, so changes in Figma can update your codebase and vice versa—keeping styles, fonts, colors, and components consistent.


7. Use Visual Selection Tools to Narrow AI Focus

When making UI edits, visually select the specific area or component you want to modify before prompting the AI. For example, highlight the tab bar if you want to add a new tab. This precision helps the AI understand exactly where to apply changes, especially in complex screens with many elements.


8. Leverage MCP Servers for Deep Integrations

Many AI tools support MCP servers that connect directly to your project management, ticketing, documentation, or file storage systems (like Google Drive). This means the AI can automatically pull relevant tickets, specs, comments, or files when prompted, eliminating the need for you to copy-paste detailed context manually.


9. Prototype Within Your Actual Tech Stack and Design System

Avoid generic “off-the-shelf” prototypes that don’t use your brand’s design system or coding conventions. Instead, prototype directly within your real codebase using your design tokens, components, and tech stack. This makes it easier to transition prototypes into production code with minimal refactoring.


10. Prototype Directly in Your Main Codebase for Faster Iteration

Sometimes the best way to prototype is right inside your main repo. For example, add a new feature branch to experiment with a pinning feature or dashboard enhancement. Test it live with real users internally, gather feedback, and iterate quickly. This approach shortens the cycle from idea to production-ready code.


11. Share and Learn from the Community

AI-powered UI development is evolving rapidly. Share your tips, ask questions, and learn from others’ experiences. The author has compiled additional tips in a detailed blog post at builder.io/blog/prompting-tips and invites the community to contribute insights for future updates.


Final Thoughts

AI tools have incredible potential to accelerate UI development, prototyping, and design iteration. But to harness them fully, you need to provide the right context, use visual and design integrations, handle errors smartly, and prototype within your real tech stack. Following these 11 tips will help you avoid common pitfalls like generic code output or disconnected prototypes and instead produce clean, maintainable, and design-consistent UIs that can ship to production.

What are your best tips for using AI in UI development? Share your experiences and let’s keep improving together!


For more detailed guides and updates, visit the blog at builder.io/blog/prompting-tips.