YouTube Deep SummaryYouTube Deep Summary

Star Extract content that makes a tangible impact on your life

Video thumbnail

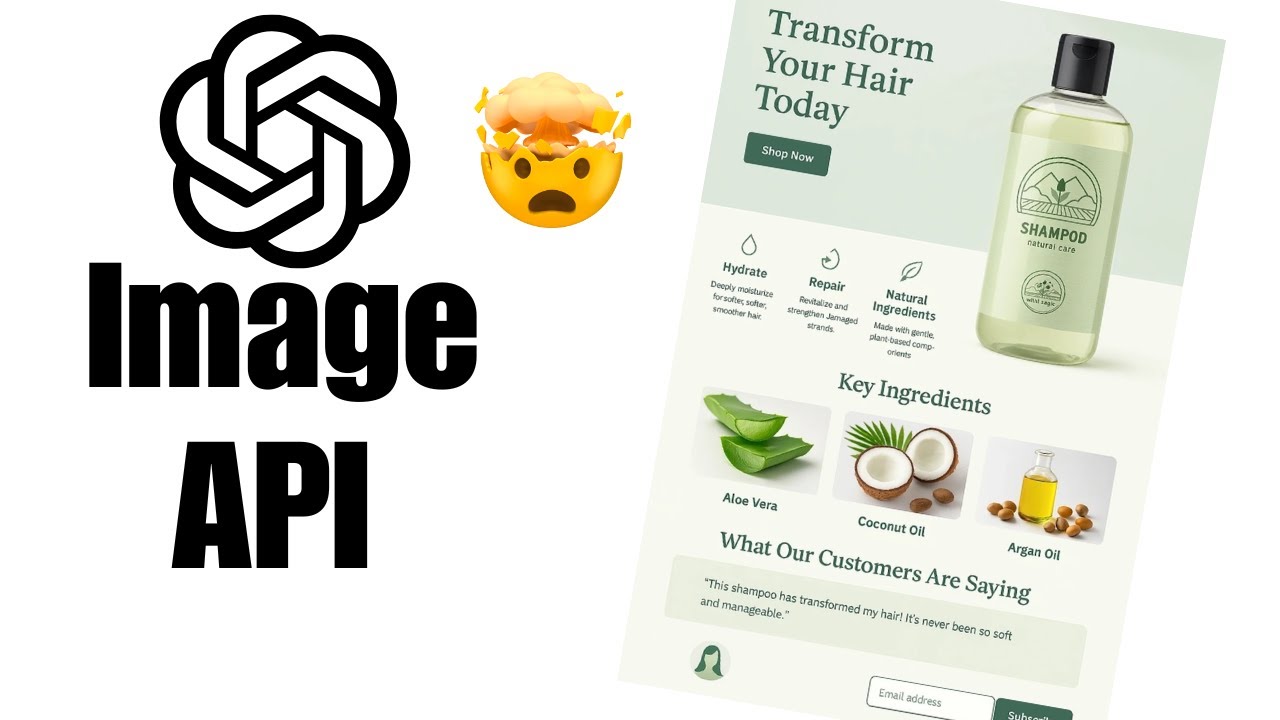
You Won’t Believe What OpenAI’s New Image API Can Do!

AI Unleashed • 2025-05-07 • 5:49 minutes • YouTube

🤖 AI-Generated Summary:

Unlocking the Power of OpenAI’s GPT Image Generation API for Business

When OpenAI released its GPT image generation capabilities, it quickly captured the imagination of creators worldwide. Beyond fun cartoons and creative experiments, this technology holds immense potential for practical business applications—from stock photos and product shots to marketing materials and more.

In this post, we'll explore how to leverage OpenAI's GPT Image API effectively, highlight key parameters you need to know, and discuss cost considerations to help you get started smartly.


Why Use GPT Image Generation for Business?

Unlike alternatives such as Midjourney, OpenAI now offers an accessible API for image generation, allowing programmatic control and integration into your workflows. This means businesses can automate the creation of custom images tailored to their brand, saving costs on stock photography or photoshoots.

Use cases include:
- Creating custom stock photos
- Generating product shots with branded elements
- Designing marketing materials and infographics
- Editing and compositing images dynamically


Getting Started with the OpenAI Images API

Once you have your OpenAI client set up, accessing the image generation features is straightforward. The API provides two main functions:
- generate – to create images from scratch based on a prompt
- edit – to modify existing images by adding or changing elements

Key Parameters for Image Generation

Here’s a breakdown of important parameters when calling the generate function:

  • Model: Use gpt-image-1, OpenAI’s latest and most advanced image model. It outperforms older models like DALL·E 2 and 3.
  • Image Size: Choose between square, landscape, or portrait modes. The default is automatic sizing determined by the AI.
  • Number of Images: Generate between 1 and 10 images per API call.
  • Format: Supported formats include PNG (default), JPEG, and WEBP.
  • PNG and WEBP support transparency.
  • JPEG offers compression options but does not support transparency.
  • Background Type: You can request a transparent background by setting this parameter to transparent. This is useful for overlaying images on websites or marketing materials without extra editing.
  • Image Quality: Options are high, medium, and low. While low quality images are cheaper, they often produce unusable results with scrambled text and poor visuals. Medium or high quality is recommended for business use.
  • Content Moderation: Controls how strictly the API filters content. Setting this to low reduces moderation, which may be useful depending on your needs (default is auto).

Practical Tips and Examples

Transparent Backgrounds Save Time

By requesting transparent backgrounds directly via the API, you can skip the tedious step of removing backgrounds manually in editing software. For example, generating a photo of a person with a transparent background makes it easy to place them on any webpage or promotional material.

Text on Images Can Be Tricky

The API sometimes struggles to perfectly render detailed text within images (e.g., logos on hats). A good workaround is to upload your logo as a reference image during edits, allowing the model to better reproduce brand elements. Keep in mind you may need to try multiple iterations to get it just right, which can increase costs.

Managing Costs Effectively

Image generation costs vary widely based on your settings:
- Low-quality, square images cost around 1 cent each but may be unusable.
- High-quality, landscape images can cost up to 25 cents.
- Generating multiple images (up to 10) multiplies the cost accordingly.

Because costs can add up fast, it’s important to balance image quality and quantity depending on your budget and project needs.


Editing Images with the API

The edit function allows you to pass in an existing image and modify it via your prompt. This is powerful for:
- Adding branding elements to product photos
- Creating composite images (e.g., a gift basket containing multiple items)
- Customizing images for targeted marketing campaigns

For example, you could upload four separate product images and ask the API to generate a beautifully arranged gift basket featuring all the items.


Integrating the API into Your Workflow

The OpenAI Images API is developer-friendly and can be integrated into backend systems using frameworks like Next.js, Express, or any server environment that supports Node.js.

Example code snippet for generating an image:

javascript const response = await openai.images.generate({ model: "gpt-image-1", prompt: "stock photo of a realistic person with a hat that says recharge landscaping on it", size: "landscape", quality: "medium", n: 1, background: "transparent", format: "png", moderation: "low" });


Final Thoughts

OpenAI’s GPT image generation API opens exciting new doors for businesses looking to innovate their visual content creation. While there are some challenges—like perfecting text in images and managing costs—the benefits of customization, automation, and integration are compelling.

If you’re interested in exploring AI-driven software development and creative tools, consider subscribing to AI-focused newsletters and resources to stay updated on the latest advancements.


Have you tried OpenAI’s image generation API yet? Share your experiences or questions in the comments below!


Author’s Note:
If you want to dive deeper into using AI for software development and creative projects, subscribe to the AI Unleash News newsletter for expert insights and tutorials.


Tags: #OpenAI #GPTImageGeneration #AI #ImageAPI #BusinessUseCases #Marketing #ProductPhotography #AIContentCreation


📝 Transcript (191 entries):

When Chad GPT released image generation, it took the world by storm. But besides all the fun cartoons and stuff you can make, it's actually very useful for business use cases like stock photos, product shots, marketing and material. It's really good. And now it's also available in the API. So differentiating from midjourney where you can't use the API at all. Now you can do that with OpenAI and the GBT image one model. In this video, I'm going to show you how to use it. I'm going to show you all the parameters, how it works, and what it costs. Let's go. And actually using the images API from OpenAI is actually very easy. So once you have your OpenAI client set up, you can just say images. And from there you can have an edit function or a generate function. So let's start with the generate function. And then you have to pass in your generation option. So I put them all up here. And the first one is the model. So you want to use GPT- image- one. This is the new one where they just figured something out. It just works so much better than Dolly 2 or Dolly 3. I mean, you could try those. They work okay, but this one's really next level. And I'll show you all the parameters one by one in this application. I built to test the API. First one would be the image size. So by default it's automatic. So the AI basically determines the resolution of the image it's going to create but you can't overwrite that. You can make it a square image or you can make it landscape or portrait mode. Those are the three options you have if you want to specify what you want. And then number of images and this can go between 1 and 10 and 10 is the max for this new GPT image model. In terms of image format defaults to PNG. You can also change it to JPEG or WEBP format. One thing to keep in mind here, so if you use WEBP or PNG, you can actually make the image transparent. JPEG doesn't support transparency, but when you do stuff JPEG, you can actually set the compression you want and send it right to the API, so you can control that. I'm going to stick with PNG, which is the default. Then for background type, you can actually set it to be transparent. And so you pass the parameter of transparent, and then the API will try to make the image background transparent. So if you have an image of a person, you can have the background be transparent. So you can just put onto a web page fairly easily. Next has got image quality. And the three excepts would be high, medium, and low. And you might be tempted to try out low. From my experience, it gives you really bad results. I'll show you that in a second. The last one is content moderation. And I always put this to low because I just want as little moderation as possible, but by default, it's actually automatic. It probably be higher than that. So I would always overwrite that to be low. So say I want to create an infographic of the bread making process for my bakery. So I'm going to set it to low here. We'll turn the background type back to auto. We'll just say generate image. And from my experience, when you do set the low, you can do a generation is very cheap. So like for example here, the estimated cost is only 1 cent. But the problem is it always generates with much lower quality. So it's like basically unusable. In this case, I actually got the words right, which I'm a bit surprised by. Other times I did this and didn't even get the words right. They're all scrambled. But the images themselves are very poor quality. They're not usable. So we do have the option. I guess you could use it just to test that you got the connection working and everything, but for an actual image, I would never use it. Change that back to medium. We'll try medium. And then we'll set the background type now to transparent. So you can see what that looks like. So I'm going to say stock photo of a realistic person with a hat that says recharge landscaping on it. There it is. But as you can see, didn't get the letters totally right in the hat. It got the recharge right, but it didn't get the landscaping right. So what I would do in this case is actually upload a image of your logo as a reference, and then I could use that to put on the hat. You might have to try a couple times to get the text right, which is where the cost can kind of add up. But what it did do was actually made a transparent background. So if you see the white in the background, if I download that and open it up for my preview here now, you can see that actually is a transparent, perfectly transparent background. So it's kind of a handy feature to be able to pass in that transparent background type. It just saves you a few minutes from having to go to a background remover app. I do have an estimated cost to this application. So based on the various settings, it'll tell you the cost, which does actually dramatically change based on what you choose for this stuff. So for example, you could say like a low quality image with a square resolution of 1024 x 1024, it only cost 1.1. If we change that to landscape with image quality high, now we go up to 25 cents. Basically 25 times more expensive. And then obviously if you bump up the number of images you're producing like to 10 now it's 250 for one shot of the API. So you do have to be a bit careful because you can spend a lot of money with this thing. So then back in the code it's actually really easy. So you just have to make a backend process. You can do this in next.js and have an automatic backend created. You can do it in React using express as a backend. All kinds of different options. But basically like I was showing you before I have to do is just say images.generate then pass in your options. And all those options I just showed you they're all right here. So, I put some documentation in the video description so you can look at some references, but it's really easy to use. And then the images.edit is very much the same. The only difference is now instead of just passing in the prompt and those parameters. So now you pass all that, but additionally you pass in what they call an image. So this is the image you want to edit. So if you if I just generated one like I did just then, I could just pass that back in as an image. But they also have a really interesting use case here. They've taken these four image files. So they have like the body lotion, the soap, bubble bath, etc. And they put it all together into a bunch of images files. So they have four of them here. So they packed them up into array and actually passed the array in and said, "Create a lovely gift basket with these four items in it." And then generated a gift basket and put all the items that have picked out of these other images right in there. So, I can think of so many use cases for something like this where you can just take a bunch of different images or even like take an image of your branding, put it onto a person's t-shirt, put it on their hat. And if you're interested in AI, in particular, AI for software development, make sure you subscribe to my newsletter, the AI unleash news. It's the first link in the description. I hope to see you there. Thanks for watching the video. I hope you're having an amazing day. I'll talk to you in the next